Create project
We recommend organizing your OCTRON projects in a certain, standardized way. The basis of all your projects should be a project folder which contains both the training data (videos and annotation data) and some test data. This project folder will also contain the trained model files in the end. Create that folder first, then select it in the OCTRON GUI. See below for details.
Start by organising your project
-
Create a project folder on disk. All OCTRON files will be saved under this folder. We recommend choosing a location on a local and fast disk. Accessing data on remote locations, for example a file server, can add significant delays during annotation and subsequent steps.
-
Decide which videos to use and make sure they are .MP4 files.
Important: The choice of videos for annotation (i.e., training) in OCTRON is important. As a general rule, aim to include videos that represent the full range of conditions under which you want your subjects to be tracked. For example, if you are tracking an animal in different lighting conditions, make sure your training set includes videos from both scenarios. If your data involve multiple subjects per video, it is often easier to start with videos containing only a few, or ideally, just one subject. This simplifies the annotation process significantly. For very long videos, consider extracting shorter segments that capture relevant activity, such as periods with a lot of movement or diverse postures you want to track. See below for instructions on how to extract a snippet from an existing .mp4 file.How do I convert my video files to .MP4?
If your videos are not in mp4 format or if they are throwing errors while you try to scroll through them in napari (indicating corrupt video files), then you can use OCTRON to transcode them.
- Drag the folder containing the videos you want to transcode into the centre area of the OCTRON GUI. Important This does not work with single files, only folders of videos! Drag and drop folders only, not single video files. If drag and drop of a folder of video files does not work for you, you can select File->Open Folder ... and select the folder of files to be transcoded.
- In the dialogue box that opens, make sure OCTRON is selected and click OK.
-
OCTRON will identify the video files in that folder and let you select which ones to transcode.
Options:
- Create subfolder: select this if you want the new .mp4 files to be saved in a subfolder to keep them separate from the originals.
- CRF (constant rate factor): this value determines the quality of the .mp4 files. Lower values mean higher quality but also larger file size.
-
Click OK and open your terminal window to check the progress. As the files are transcoded you will see them pop up in your folder (or in a mp4_transcoded subfolder within your forlder)
Why does OCTRON enforce usage of .MP4 files?
Long answer short: The zoo of video formats and codecs is complicated and all of us are using video files for something that they are not generally made for, that is, precise frame-by-frame access across 100s to 1000s of frames. We are therefore enforcing mp4 and encourage people to use OCTRON to encode all their video files as described in the helper box at the beginning of this page ("How do I convert my video files to .mp4?"). For an excellent primer on this topic see this github issue.
How do I extract a snippet from an existing .mp4 file?
To extract a snippet from an existing video you can do
whereffmpeg -ss 20 -i "your_video_path.mp4" -t 60 -c:v libx264 -preset superfast -crf 23 -an "your_video_path_snippet.mp4"
--ssindicates the start of the snippet in seconds from the start of the video.
--t 60indicates that you want to extract 60 seconds from the video.
--c:v libx264 -preset superfast -crf 23 -anspecifies the codec (do not change this!) and that you do not want any audio in the output.
-
Create video subfolders for your project (optional). While the exact location of your video files is not critical, we recommend creating two subfolders within your project directory: one for training videos and another for test videos. These folders should contain completely separate sets of videos — do not mix training and test data. Keeping these sets distinct allows you to properly evaluate whether your trained models achieve sufficient accuracy for your tracking task.
-
train: save the videos that you want to train the model on in this folder. The number of videos you'll need for training depends on what you want to track, the quality of the data, recording duration, etc. Recommendation: start with a handful of videos and add more later if the training results are not good enough.
- test: save the videos that you want to test the model on here (i.e. videos that the model has not been trained on). These should be new videos, but similar to the training videos in terms of image characteristics.
Open the project folder in OCTRON
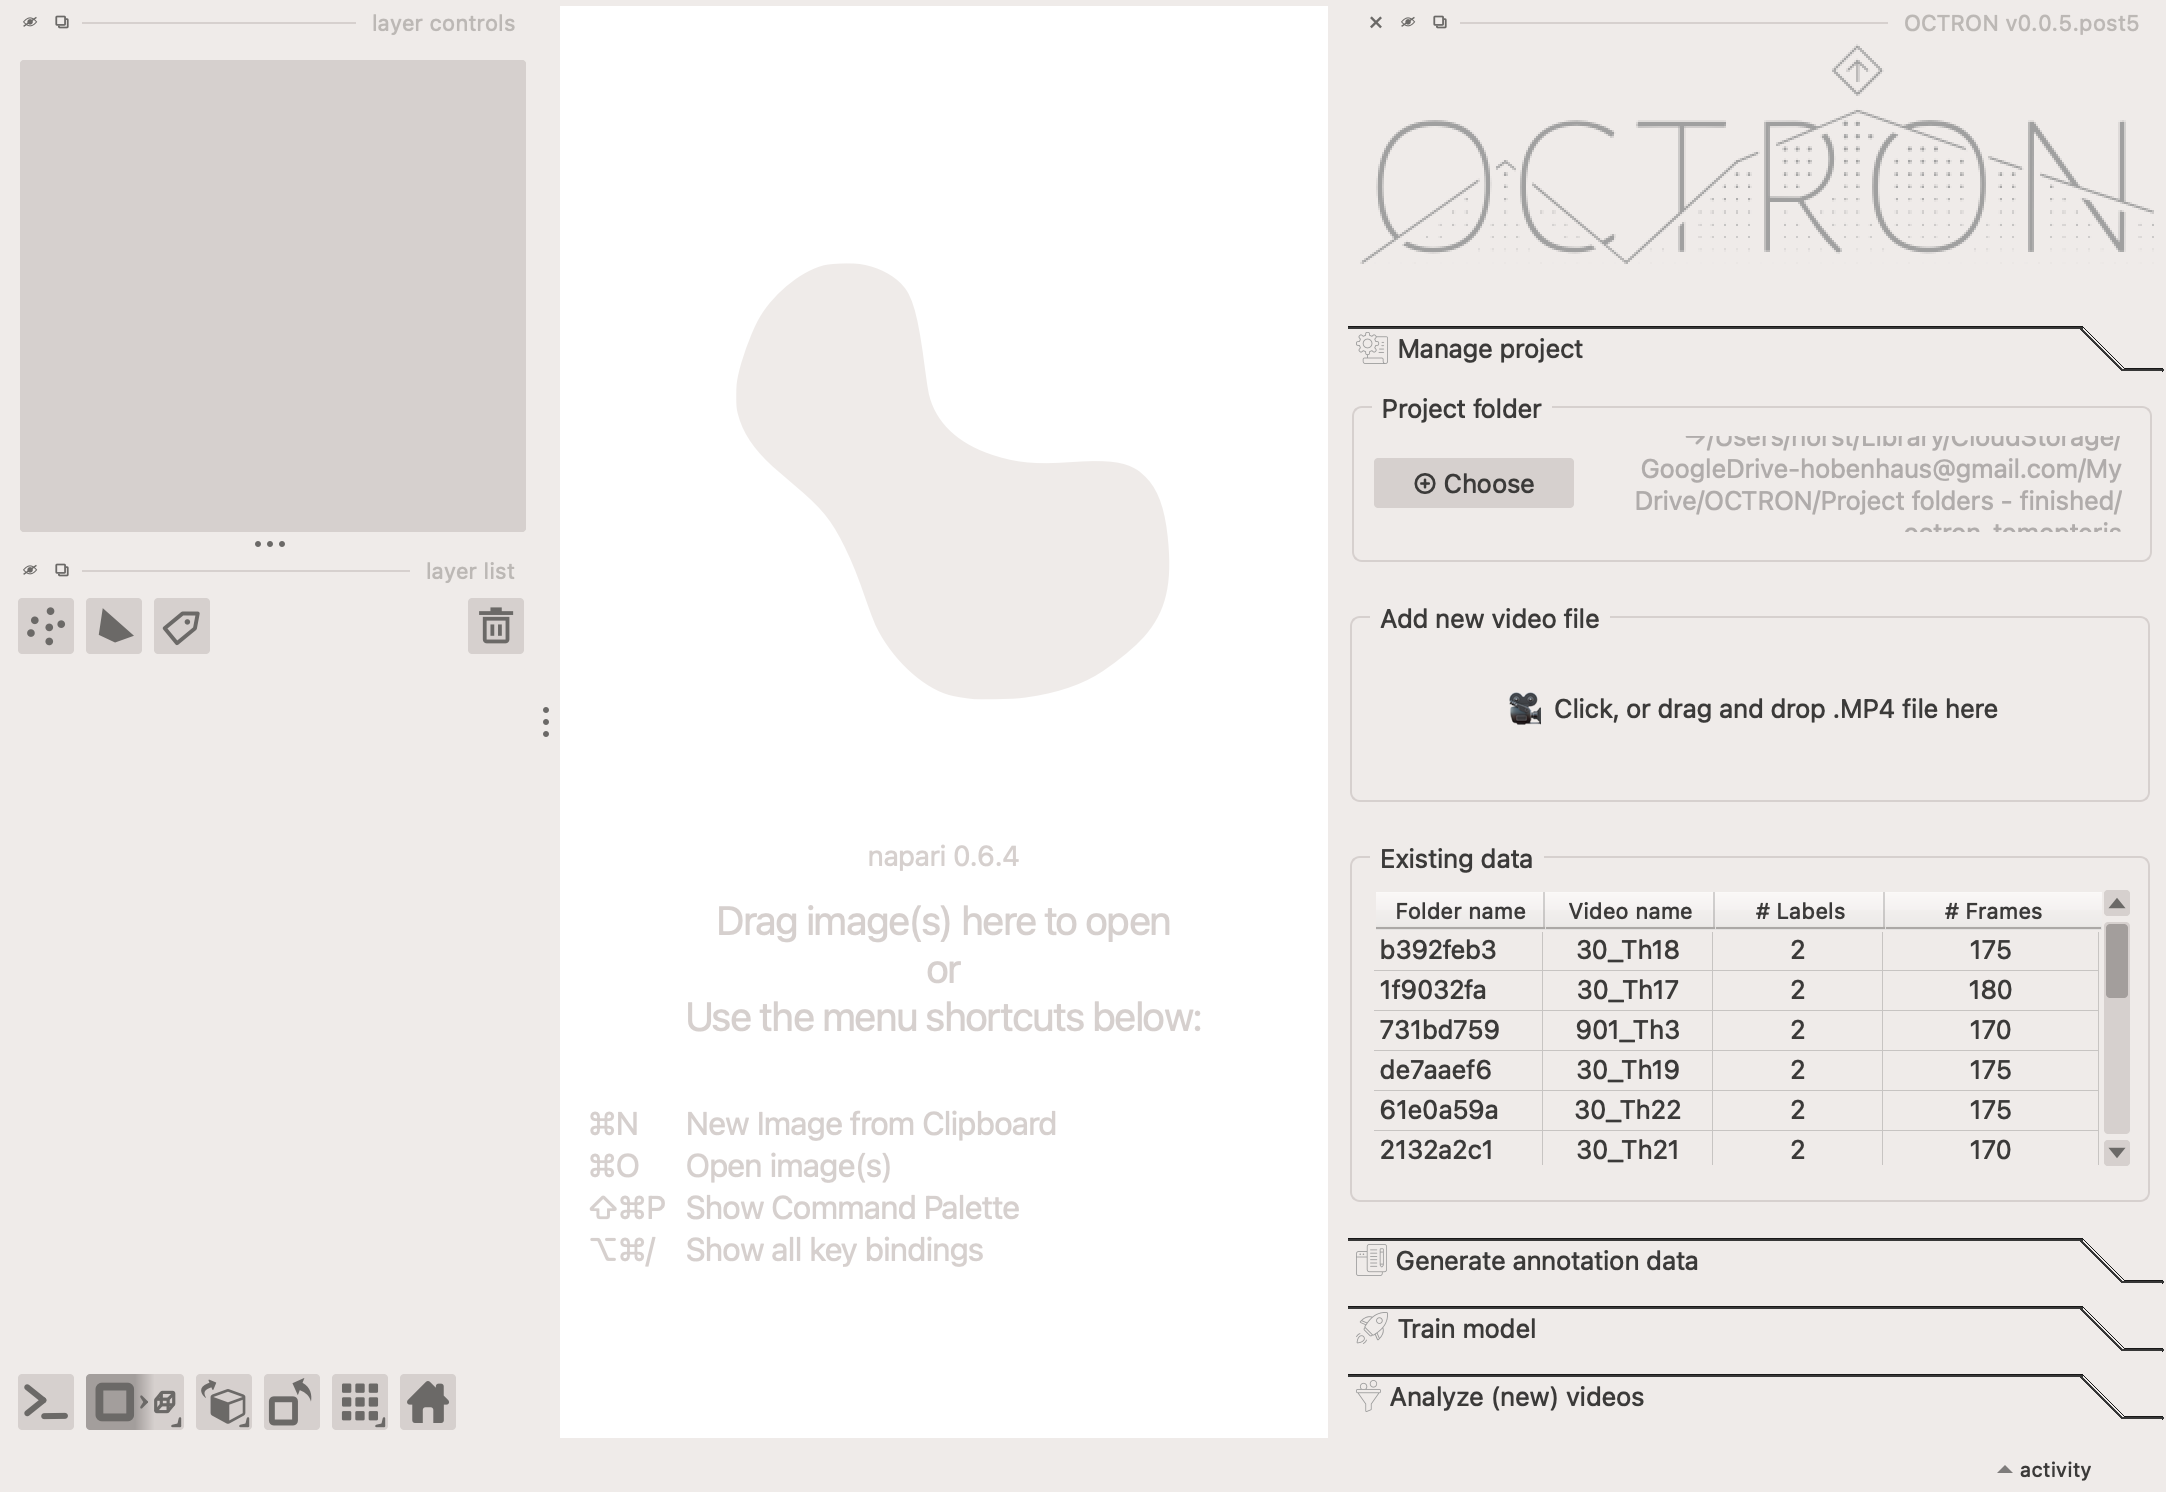
In the Manage project tab, click Choose under Project folder and navigate to the folder you created.
Add a new video file
Drag one of the videos you want to train the model on into the Add new video file section under the Manage project tab. Alternatively, left-click on this field to show a file selection dialog. If the video is not located in the project folder (i.e. if you skipped step 3 above), a dialogue box will pop up asking if you'd like to save a copy of the video in the OCTRON project folder. We recommended clicking Yes to ensure all project related files are kept together. You will find the copied video in a subfolder called videos within your project folder. In general it is better to keep videos locally and on a fast disk (in contrast to for example saving them on a remote server) so that access times are reduced.
Existing data
Once you start annotating, this section will list the number of frames that you have annotated in each video as well as the number of labels. Each row can be hovered over with your mouse to reveal the full video path and label names.