Training
Once you have a decent number of annotated frames, you are ready to train your model. This is done in the Train model tab.
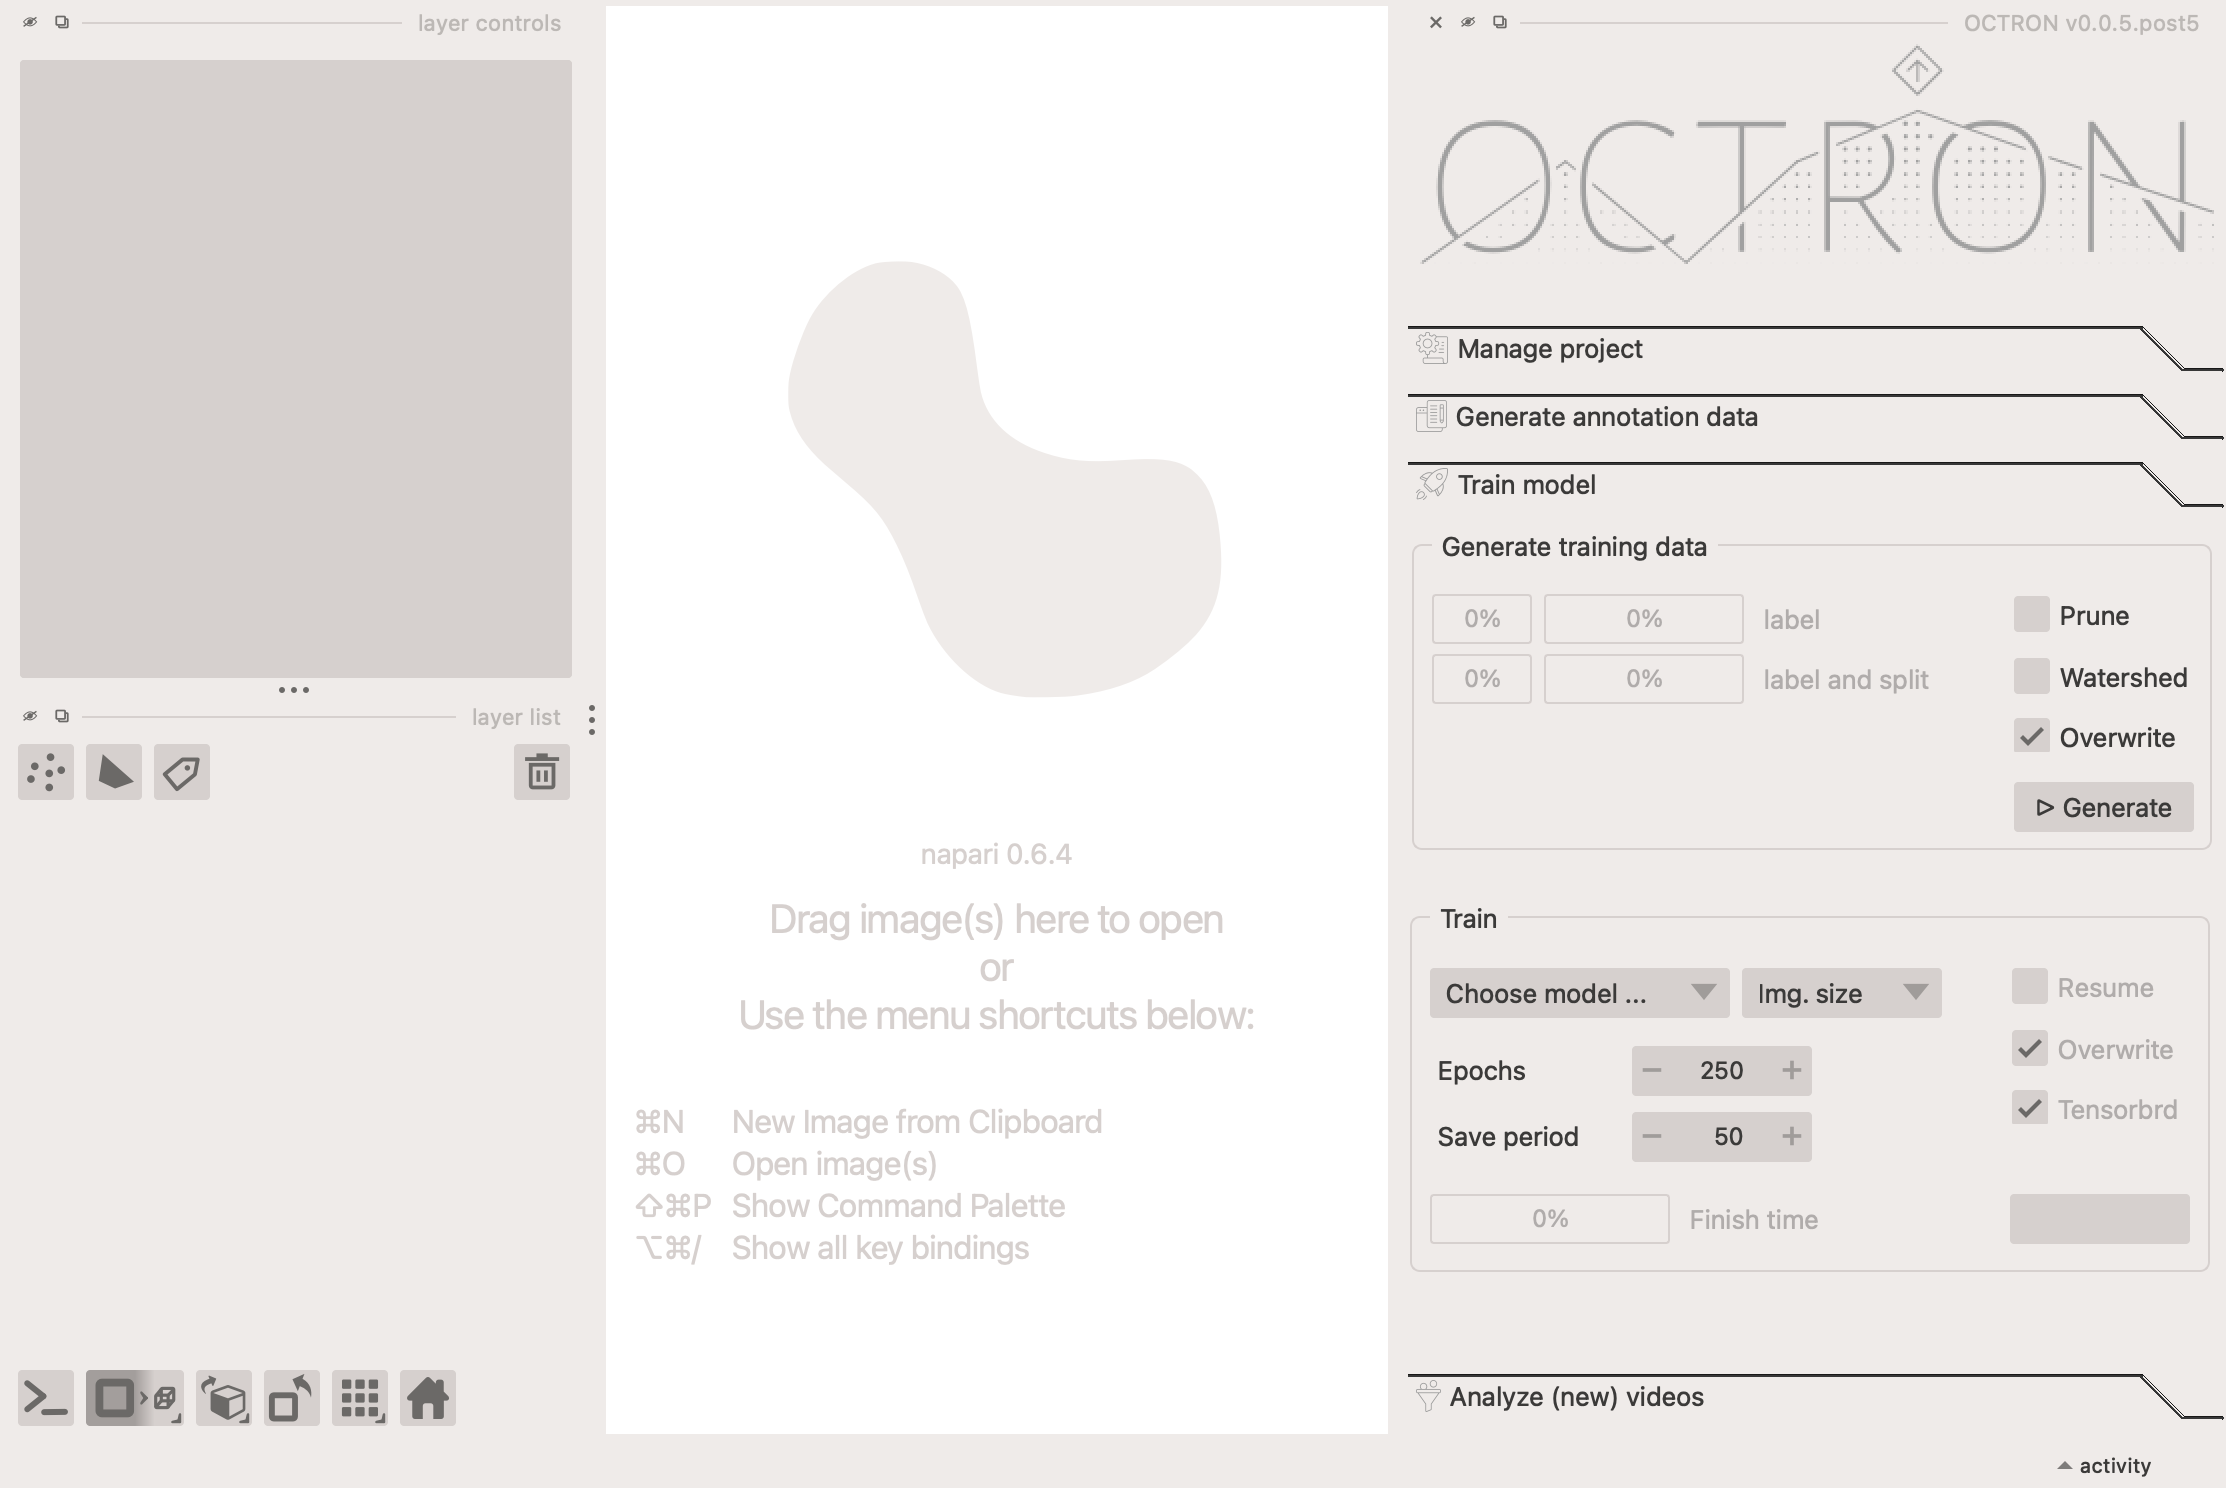
Generate training data
OCTRON needs to generate data to train the model on, i.e. it takes your annotations and splits them into a training dataset and a testing dataset. This enables it to evaluate how well the training is going by comparing its predictions against the ground truth. First, consider these options:
- Prune: select this if there are frames in which it is likely that not all of your objects were annotated despite them all being present. By selecting this option OCTRON will 'prune' the annotated frames so that only those where all labels are present are used. Otherwise you will be counteracting the training (the model will think that if one object isn't annotated in a certain frame, but the other objects are, this means the un-annotated object isn't there).
- Watershed: If you have labeled multiple instances of the same kind of object on the same annotation layer, then you can use a watershedding operation to make sure that when two or more of these objects touch slightly (for example when they bump into each other over time), they still form separate masks. You can see a visual explanation of this process here.
- Overwrite: if you've generated a training dataset before, selecting this option will overwrite the existing one (recommended).
Once you click Generate, you can observe the progress in the two progress bars:
- label: the progress for a given label.
- label and split: the progress of splitting up the annotated data into a training and testing dataset.
Train
Once the training data has been generated, OCTRON is ready to train your model. There are a few settings to consider:
-
Choose model: choose which model to use.
Which model should I choose?
The larger the model, the more accurate it may be, but the more time and GPU resources it needs too. Recommendation: start with the smallest model and move up from there if necessary. The large model also usually needs more training data.
- YOLO11m-seg: the 'medium' model (the smallest one)
- YOLO11l-seg: the 'large' model
-
Img. size: choose which image size OCTRON should train on. If your input videos have a high native resolution (for example 1920x1080 pixels), then training OCTRON with an image size of 1024 makes sense to get higher resolution out of your predictions. This especially helps with smaller labeled structures that cover only a minute fraction of your field of view. However, if your input videos have smaller resolution (for example 640x480 or smaller), then training the model atr 1024 image size makes little sense and might even make training worse.
-
Epochs: decide how many epochs the model should train for. The higher the number, the longer the training will take, but if no significant improvement is detected across 100 epochs then the training will automatically stop.
-
Save period: decide how often (in number of epochs) to save the training results.
-
Resume: [this feature has not been implemented yet]. if you've previously started training a model but had to abort for some reason, you can continue from where the training stopped by selecting this option
- Overwrite: if you've previously trained a model and want to replace it, select this option.
- Tensorboard: select this if you want to follow the training progress live in your browser via tensorboard. After the training has started you can open a new terminal, conda activate your OCTRON environment, and do
tensorboard --logdir "YOUR_TRAINING_FOLDER". This will then show you a link you can click or copy+paste into your browser to view a tensorboard instance showing the training progress.
When you're happy with your training settings, click Train.
Check training progress and results
While the model is training you can track its progress in the terminal window (and with graphs in your browser if you selected the Tensorboard option). Once OCTRON has finished one epoch, it will provide an estimate of how long the total training will take, based on how long the first epoch took to complete and how many epochs you've told it to train for.
Once the training has finished, you can check how it went by opening the model folder in your project folder, and then the training folder. Key files within this folder:
-
results.png: this image provides an overview of the training progress. If the training went well, then all the curves should have an asymptote. All metrics have their usefulness in those plots, but if you want a quick impression, look at the
mAP(mean average precision). It measures how effectively a model identifies and localizes objects across various classes and confidence thresholds. mAP is computed by averaging precision across different recall values for each class, typically at specific Intersection over Union (IoU) thresholds—like 0.5 (mAP@0.5) or a range from 0.5 to 0.95 (mAP@0.5:0.95). A higher mAP score indicates that the model is both accurate in classification and precise in object localization. -
confusion_matrix.png this shows the confusion matrix, i.e. how "true" classes compare to "predicted" ones across (unseen) test images. If the diagonal is the strongest, that means that most label classes have been successfully predicted. Off-diagonal squares indicate that the model is confusing label identities. You want most of your values to be concentrated on the diagonal.
-
val_batchX_pred.jpg: this image shows example frames that were predicted by the model, with the labels and confidence level associated with each label. If the training went well, then the values should be closer to 1 than to 0.
To learn more about the output OCTRON is saving during training see the File System - Training page.